Linux服务器安装GUI

本文最后更新于:8 个月前

服务器CentOS7系统安装GUI,并部署「远程桌面」。对后续如果有云服务器安装桌面环境,具有参考意义!特此记录

Linux服务器安装GUI

一、Linux安装GUI

大多数云服务器厂商提供的镜像都无GUI界面,所以要先安装图形环境。本文使用GNOME桌面环境:

1
2
yum -y groups install "GNOME Desktop"		#安装GNOME桌面的必要软件包
echo "exec gnome-session" >> ~/.xinitrc #配置X系统使用GNOME

桌面环境有KDE和MATE两种,两者命令不太一样,选择一样即可

1
2
3
4
5
6
7
# kde
yum -y groups install "KDE Plasma Workspaces"
echo "exec startkde" >> ~/.xinitrc

# mate
yum --enablerepo=epel -y groups install "MATE Desktop"
echo "exec /usr/bin/mate-session" >> ~/.xinitrc
  • KDE,K桌面环境(K Desktop Environment)的缩写。一种著名的运行于 LinuxUnix 以及FreeBSD 等操作系统上的自由图形桌面环境

  • MATE 桌面环境是 GNOME 2 的延续。,MATE 为 Linux 或其他类 Unix 操作系统提供直观且吸引人的桌面环境

以上安装好了GUI环境,下面启动桌面环境

1
2
3
4
5
6
#单次启动
startx

#设置开机启动
systemctl set-default graphical.target
reboot

二、部署远程桌面

2.1、安装 vnc-server

有了桌面环境,一般可以通过云服务器厂商提供的web终端远程连接进入桌面。用web终端每次都需要打开浏览器,然后登陆云管理后台再连接,比较麻烦。我们采取直接从桌面客户端远程连接的方式,省去打开浏览器和登录云管理后台的操作。

远程桌面技术有多种,例如VNC, TeamViewer, RDP等,本文使用免费且广泛使用的VNC。

在服务器上先安装服务端(tigervnc是tightvnc的分支):

1
yum install -y tigervnc-server

接着复制一份VNC配置:

1
cp /lib/systemd/system/vncserver@.service /etc/systemd/system/vncserver@:1.service

注意上述命令参数重的“@:1”,可以将数字1换成30000内的任意数字,“5900+数字”即为程序的显示(监听)端口,如”@:1″表示监听5901端口。

编辑该配置文件,将文件内的<USER>替换成远程连接时的登录用户名

1
2
3
4
5
6
7
8
9
10
11
12
13
14
15
16
17
18
19
20
21
22
23
24
25
26
27
28
29
30
31
32
33
34
35
36
37
38
39
40
41
42
43
44
45
# The vncserver service unit file
#
# Quick HowTo:
# 1. Copy this file to /etc/systemd/system/vncserver@.service
# 2. Replace <USER> with the actual user name and edit vncserver
# parameters in the wrapper script located in /usr/bin/vncserver_wrapper
# 3. Run `systemctl daemon-reload`
# 4. Run `systemctl enable vncserver@:<display>.service`
#
# DO NOT RUN THIS SERVICE if your local area network is
# untrusted! For a secure way of using VNC, you should
# limit connections to the local host and then tunnel from
# the machine you want to view VNC on (host A) to the machine
# whose VNC output you want to view (host B)
#
# [user@hostA ~]$ ssh -v -C -L 590N:localhost:590M hostB
#
# this will open a connection on port 590N of your hostA to hostB's port 590M
# (in fact, it ssh-connects to hostB and then connects to localhost (on hostB).
# See the ssh man page for details on port forwarding)
#
# You can then point a VNC client on hostA at vncdisplay N of localhost and with
# the help of ssh, you end up seeing what hostB makes available on port 590M
#
# Use "-nolisten tcp" to prevent X connections to your VNC server via TCP.
#
# Use "-localhost" to prevent remote VNC clients connecting except when
# doing so through a secure tunnel. See the "-via" option in the
# `man vncviewer' manual page.


[Unit]
Description=Remote desktop service (VNC)
After=syslog.target network.target

[Service]
Type=simple

# Clean any existing files in /tmp/.X11-unix environment
ExecStartPre=/bin/sh -c '/usr/bin/vncserver -kill %i > /dev/null 2>&1 || :'
ExecStart=/usr/bin/vncserver_wrapper root %i #修改这里,把<USER>换成root
ExecStop=/bin/sh -c '/usr/bin/vncserver -kill %i > /dev/null 2>&1 || :'

[Install]
WantedBy=multi-user.target

接下来设置vnc连接密码:

1
vncpasswd

注意连接密码与登录密码不同:连接密码用于显示远程桌面,登录密码用于用户登录系统。

设置好后,启动vnc服务:

1
2
3
systemctl daemon-reload
systemctl start vncserver@:1
systemctl enable vncserver@:1

如果开启了防火墙,注意放行相应端口。

2.2、客户端连接

vnc是免费技术,许多客户端都支持该协议。这里使用 tightvnc 。下载 tightvnc

会同时下载整个TightVNC应用,这里我们只需要用到 TightVNC Viewer。

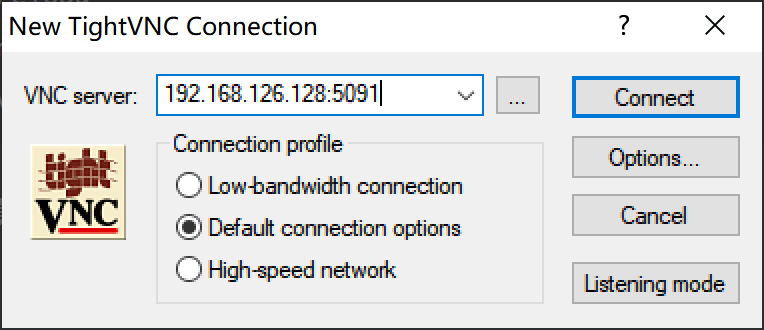
打开Viewer,输入ip+端口(注意:不需要加vnc://前缀,我前面加了导致无法连接!!)
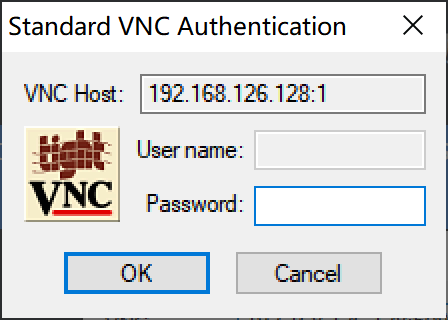
image-20221204233359724

然后输入密码

image-20221204233536822

就打开远程桌面了!

image-20221204233556469

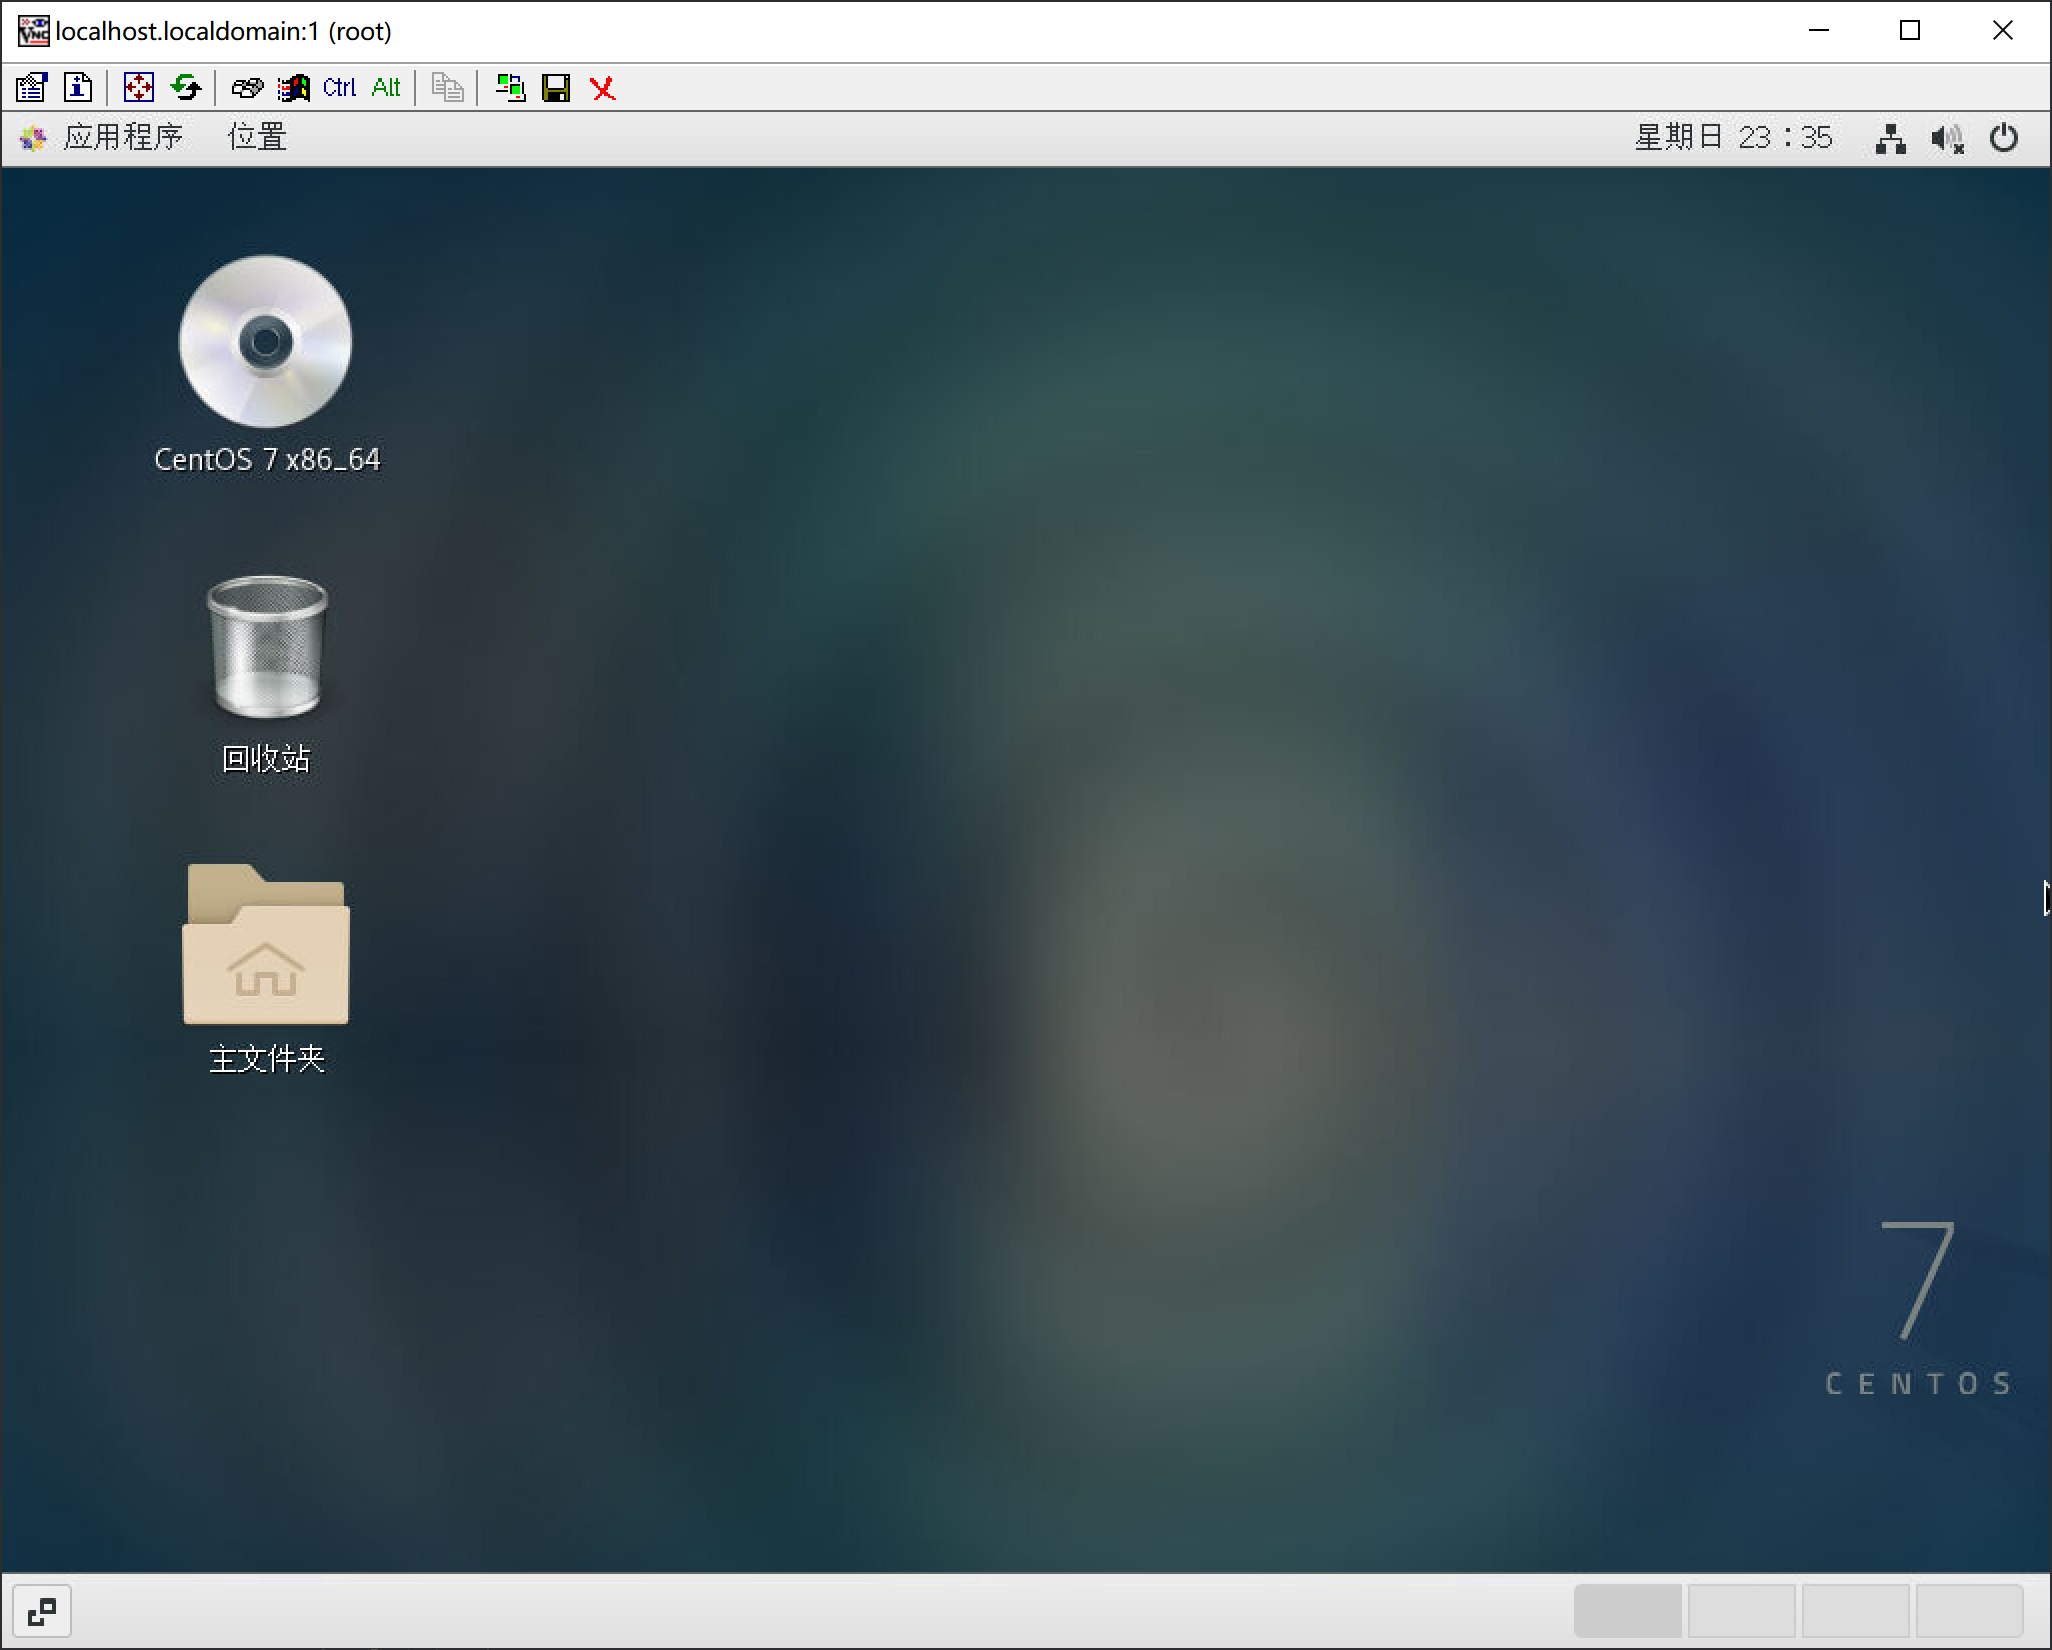
只要每一步都操作正确,配置起来还是简单的!

参考链接

[1].CentOS7安装GUI界面及远程连接的实现 - 腾讯云开发者社区-腾讯云 (tencent.com)

[2].TightVNC_for_Windows-Installation_and_Getting_Started.pdf


Linux服务器安装GUI
http://timegogo.top/2022/12/04/Linux/CentOS7安装GUI/
作者
丘智聪
发布于
2022年12月4日
更新于
2023年7月16日
许可协议